Make Gorgeous Wax Seals at Home
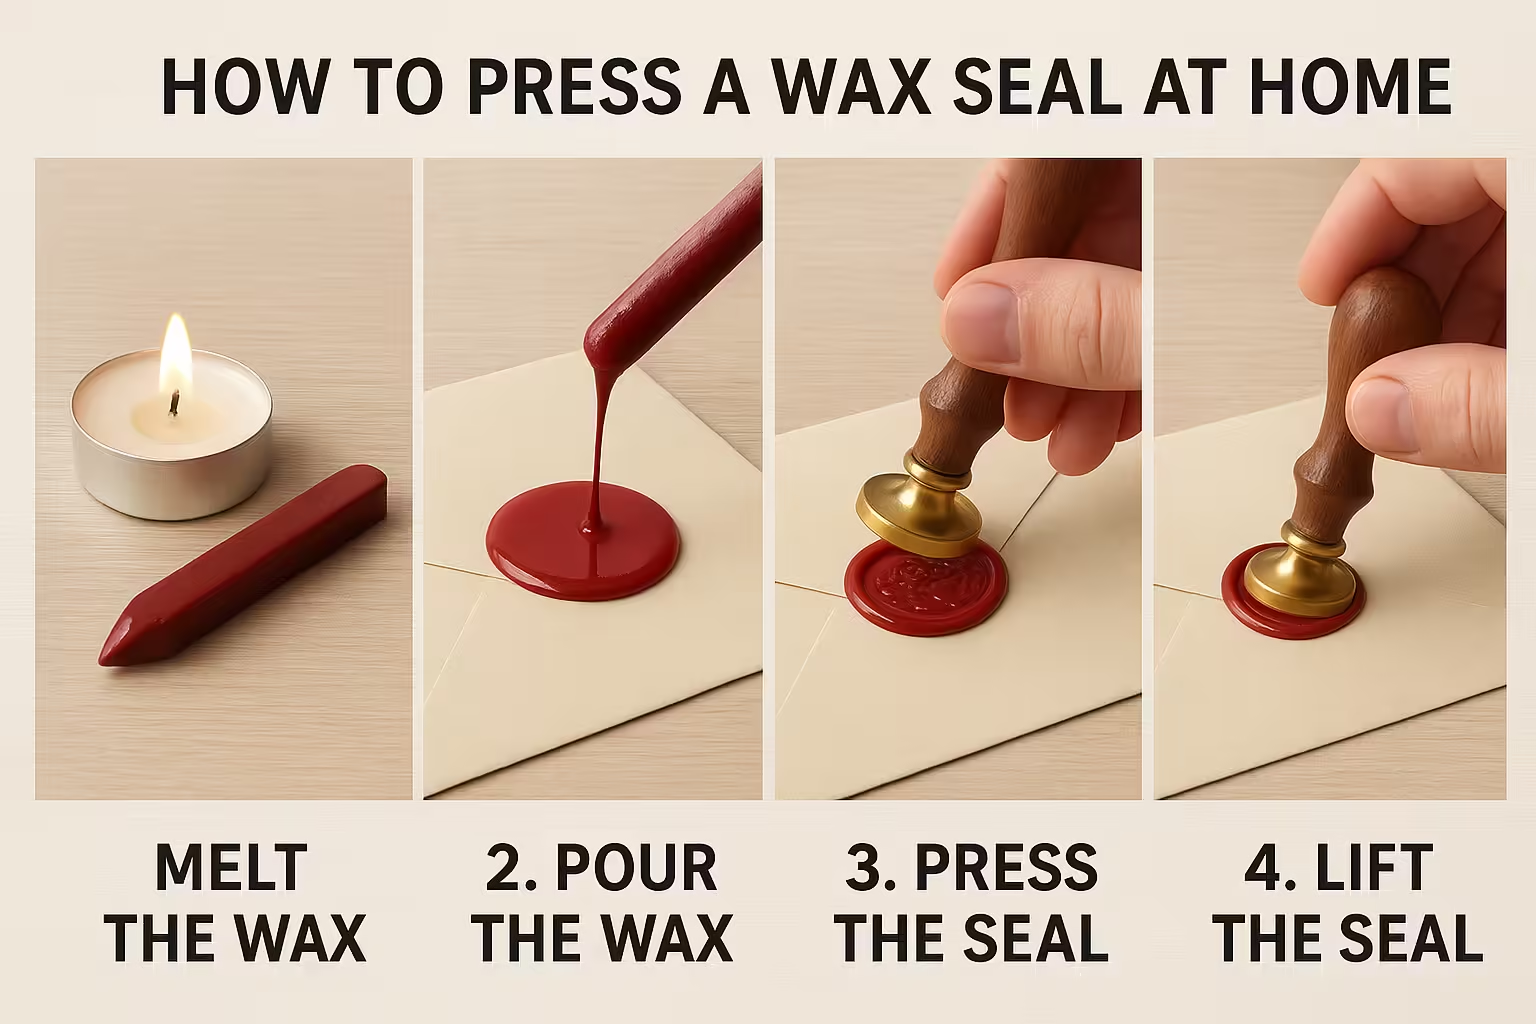
Table of Contents
- Introduction
- What You’ll Need
- Step-by-Step Guide to Making Wax Seals
- Creative Ways to Use Wax Seals
- Tips for Beginners
- Safety Precautions
- Conclusion
- Frequently Asked Questions
Introduction
In an age of emails and instant messaging, wax seals bring a touch of elegance and nostalgia that’s hard to resist. Whether you’re sealing wedding invitations, personal letters, or handmade packaging, a wax seal instantly elevates the presentation. The good news? You don’t need to buy expensive kits or be a professional calligrapher to create them. With a few basic materials and some creativity, you can make wax seals at home easily—and beautifully.
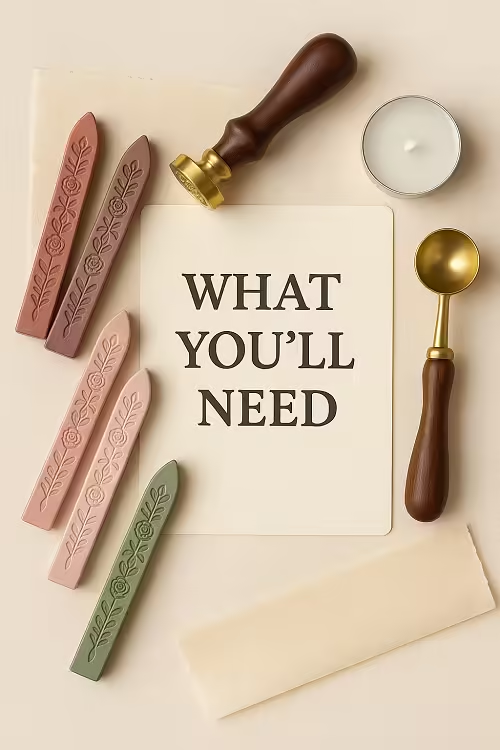
What You’ll Need
Before you dive into the sealing process, let’s gather the essential supplies. Here’s what you’ll need:
- Sealing wax (available in sticks, beads, or with wicks)
- Wax seal stamp (brass stamps with wooden handles are most common)
- Heat source (candle, lighter, or wax melting spoon)
- Melting spoon (for wax beads or wickless wax)
- Non-stick surface (parchment paper, silicone mat, or metal tray)
- Optional: Ice pack or chilled coin (to help the stamp release cleanly)
It’s worth noting that different types of wax serve different purposes. Traditional wax is brittle and breaks easily, which is perfect for decorative letters. Flexible wax is better suited for mailing as it won’t crack in transit.
Step 1: Prepare Your Workspace
First, set up your workspace in a well-ventilated area. Place a silicone mat or parchment paper on your table to protect surfaces from hot wax. Lay out your materials so everything is within reach.
Step 2: Heat the Wax

If you’re using a wax stick with a wick, light it like a candle and hold it over the area where you want to make the seal. Let the wax drip slowly into a small pool, about the size of a quarter. This method is classic but can be a little messy and hard to control, especially for beginners.
For wax beads or wickless wax sticks, place the wax in a melting spoon and hold it over a flame (such as a tealight candle) until fully melted. Stir gently to ensure the wax is evenly heated and smooth.
Using Wax Sticks in a Glue Gun
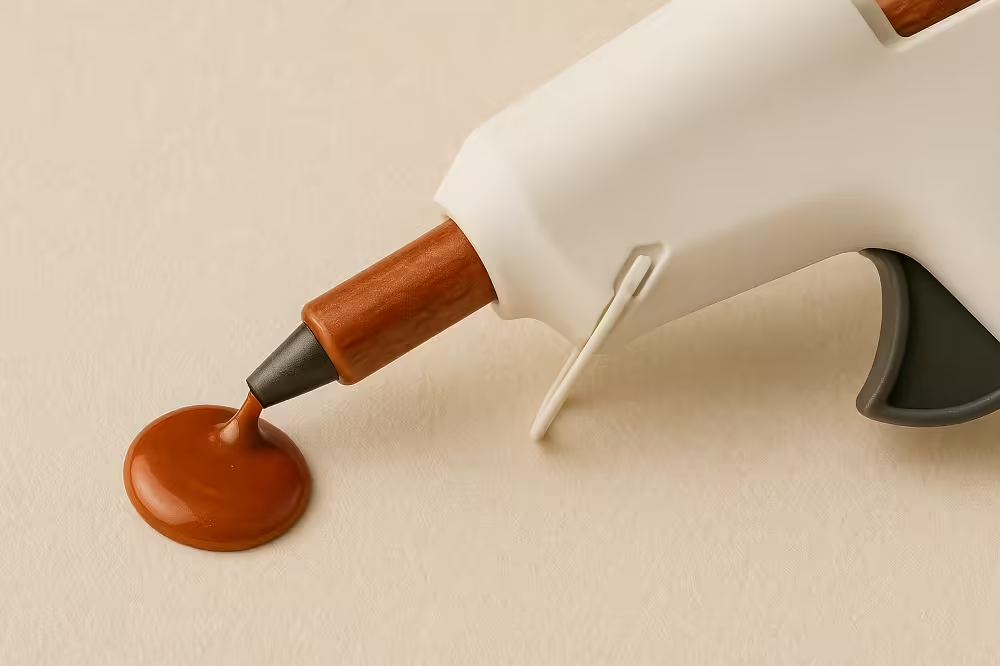
An increasingly popular and convenient option is to use wax sticks designed for glue guns. Simply load the stick into a low-temperature glue gun, allow it to warm up for a few minutes, and then squeeze the wax directly onto your desired surface. This method is ideal for making multiple seals quickly and consistently, such as for wedding invitations or batch projects.
🔥 Important: Always use a low heat setting or a low-temp glue gun, as standard high-heat guns can burn the wax or make it too runny, resulting in poor seal impressions and excess mess.
Step 3: Pour the Wax
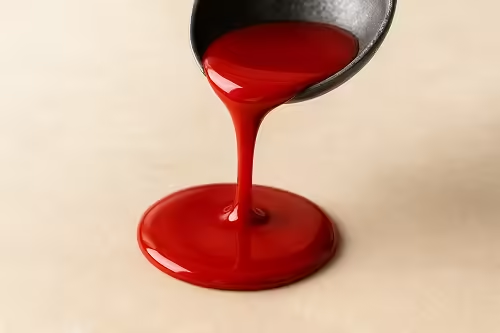
Once melted, carefully pour the wax onto your chosen surface. You want a circular pool of wax that’s roughly 1 to 1.5 inches in diameter, depending on your stamp’s size. Note: If the wax is steaming, it is too hot.
Step 4: Press the Stamp
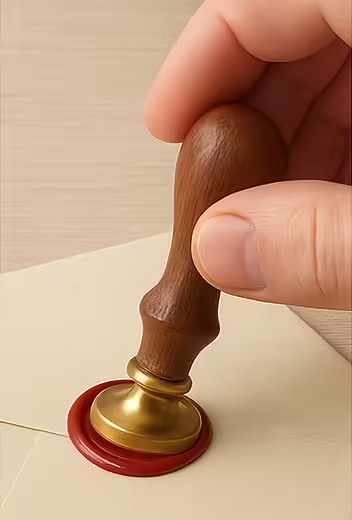
Immediately press the stamp into the center of the wax pool. Hold it steady for 5–10 seconds, allowing the wax to cool and set.
Step 5: Remove the Stamp

Lift the stamp straight up. If it sticks, let it cool for a few more seconds. Using a chilled stamp (set on an ice pack or ice cube for a few seconds) can help prevent the wax from sticking.
And voilà! You’ve just created your very own wax seal.
Creative Ways to Use Wax Seals
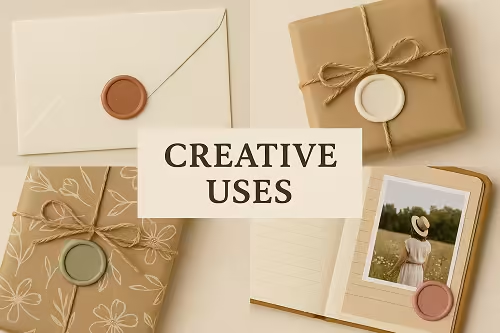
Wax seals are not just for envelopes. Here are some imaginative ways to use them:
- Wedding invitations – Add a personal, regal touch
- Gift wrapping – Use as an elegant finishing detail
- Product packaging – Elevate your brand presentation
- Place cards or menus – Perfect for events and dinner parties
- Art journaling or scrapbooking – Adds a textured, vintage feel
Some even embed dried flowers or glitter into the wax for a more customized look. The possibilities are endless.
Tips for Beginners
If you’re new to wax sealing, here are some tips to help you get started:
- Practice on parchment paper first – You can peel off the seals and reuse them
- Use a clean, dry stamp – Any moisture can affect the final imprint
- Chill your stamp – Especially helpful in warmer rooms
- Test your wax – Different brands melt and set differently
- Clean your melting spoon between uses – Residue can affect color and clarity
Experiment with colors and stamp designs until you find the style that feels most “you.”
Safety Precautions
Working with heat and wax does come with risks. Here’s how to stay safe:
- Never leave open flames unattended
- Use tweezers or tools to handle hot spoons
- Avoid touching freshly melted wax
- Work in a ventilated area to avoid fumes
- Keep children and pets away from your workspace
A bit of caution goes a long way in making this a safe and enjoyable craft.
Conclusion
Making wax seals at home is a fun, satisfying, and surprisingly easy way to add a vintage flair to modern correspondence or projects. Whether you’re crafting for a special occasion or just for fun, the process itself is calming, and the results are always impressive.
By following the steps outlined above, you’ll be sealing like a pro in no time. So go ahead—melt, pour, stamp, and create something timeless. These tips work whether you are using a custom wax seal stamp to make regular wax seals or self adhesive wax seals.
Frequently Asked Questions
Can I use a regular candle instead of sealing wax?
You can, but it’s not recommended. Regular candle wax doesn’t hold shape well and often results in brittle or messy seals. Sealing wax is specially formulated for durability and clarity.
Do I need a special stamp?
While traditional wax seal stamps are ideal, you can get creative. Metal coins, buttons with designs, or even rubber stamps can work in a pinch—though results may vary.
Can I mail letters with wax seals?
Yes, but use flexible wax and consider placing the sealed envelope inside another one to protect the seal during transit.
How do I clean a wax seal stamp?
Wipe the stamp with a soft cloth after each use. If wax buildup occurs, warm the stamp slightly and wipe away the residue carefully.
Is sealing wax expensive?
Not at all! Many craft stores sell beginner kits for under $20, and a single stick or pack of beads can produce dozens of seals.